Building the internals were not very complicated; in the CAD model, I designed most large parts to be cuttable on the laser cutter available at the Brown Design Workshop (I was pushing it to the limit cutting 18” diameter circles but it worked). The difficult part was the outer shell. In designing the outer shell, I had multiple goals in my mind:
- the shells need to be easily removable
- the shells need to stay in place
- the different pieces of the outer shells need to feel natural with each other
The most important feature that the outer shells needed to have was that once it was assembled, its placement should be rock solid; however, they must be just as easy to remove, since Tbo is just not a consumer product but a research platform that would need to remain, well, ‘hackable’.
The bottom strata, which includes the electronics section as well as the TurtleBot 2 (Kobuki) base, would need to be frequently accessed for research and debug purposes. I thought of a design where the bottom shell would divide into two half-circle shapes and magnetically attach in place. They would basically be maintenance hatches. Using neodymium magnets, the bottom two shells would clasp into place once it follows through a uniquely designed casing for the magnets. The side shells only come off when somebody reaches to the bottom of the robot and pull the shell towards them.

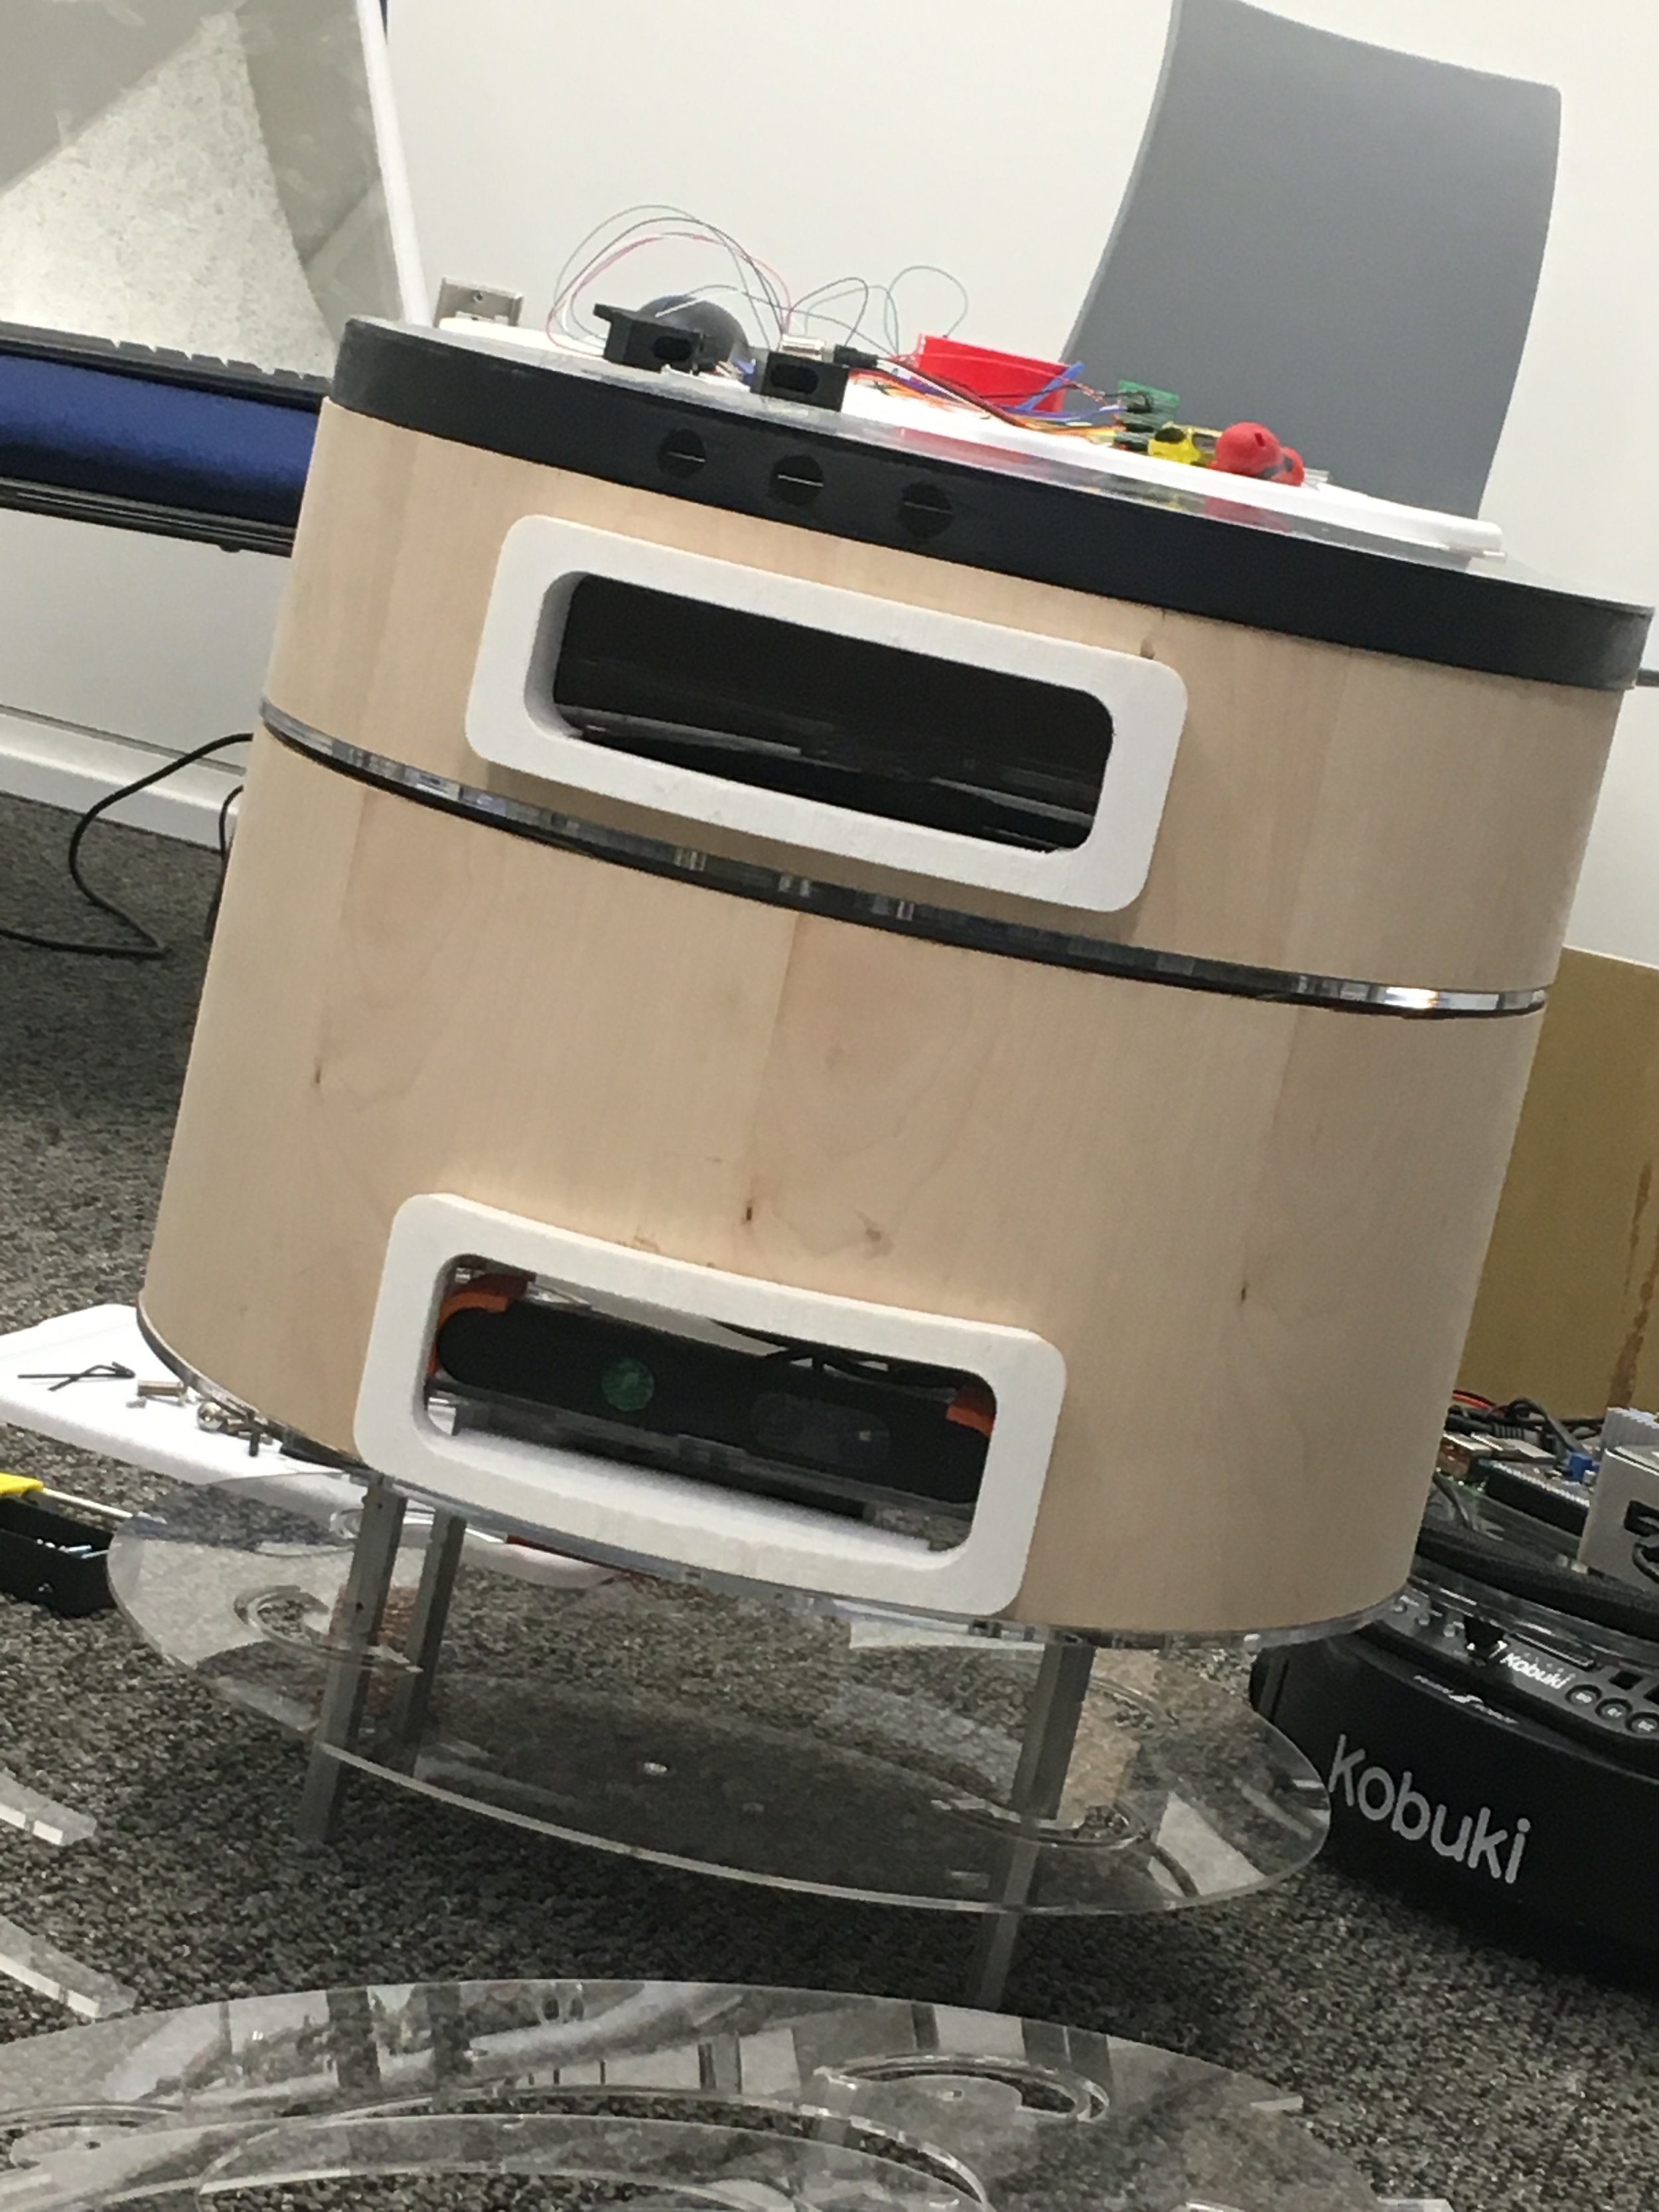
This picture shows the bottom access hatch being in use.
Although the magnetic ‘clasp’ sound is the one small detail I am the most fond of in Tbo, the top two shells also have an interesting way of attaching to the robot.
Wait, two? I thought the previous designs had total four levels of shells…
Yes. The middle two shells were merged into one for a few important reasons; they include serving as a better woofer for the speaker system, as well as making things easier to take apart. See the video below for an explosion of Tbo; how you would in real life disassemble and assemble it, shells included.
The top shells
The top two shells both have a simple design; slide in and lock. The side extrusions, visible in the photos below, lock into place once it gets to the right spot in the acrylic sheet that defines the base of a strata. While the extrusion stops the lateral force which may turn/shift the shell, it bears no weight of the shell / the robot; using epoxy was more than enough for attaching the extrusion to the side.
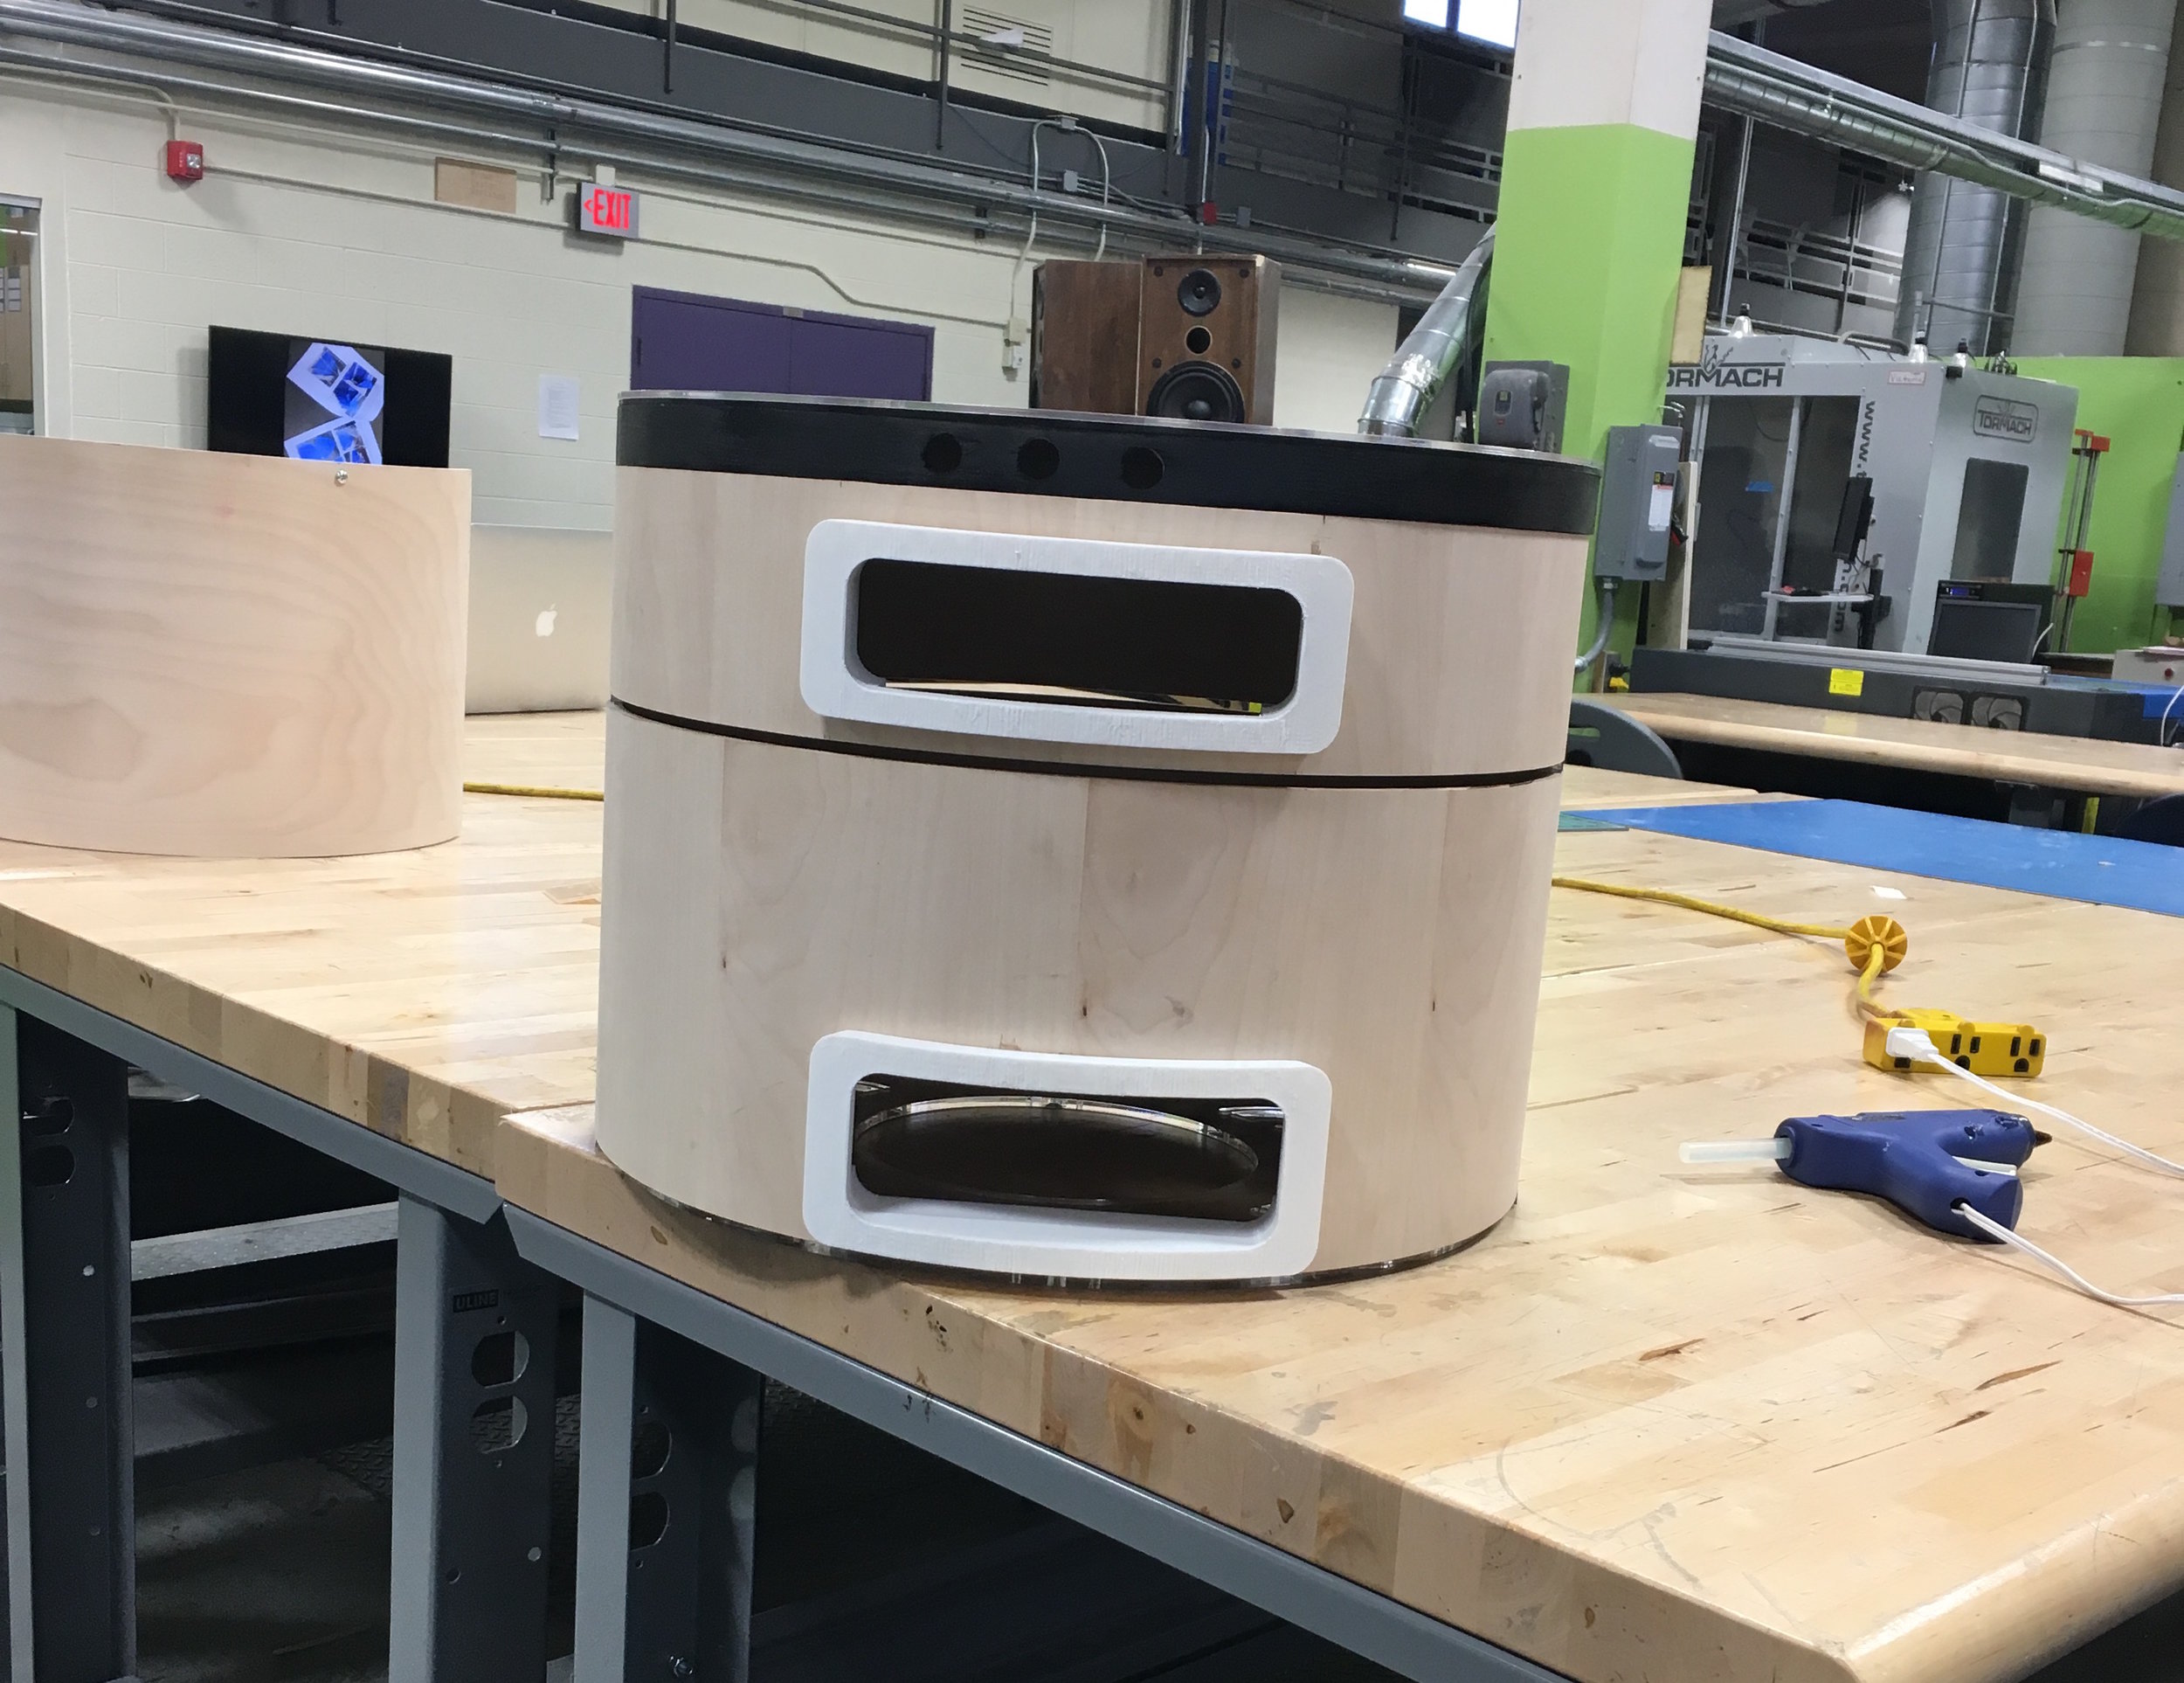
Observe the two black extrusions keeping the shell in place.
This shows the extrusions being attached.
The top shell is easy to remove; one only has to unscrew three screws that fix the tabletop in place, then the shell is removable. The center shell is a little more tedious to remove; however, the speaker and the Xtion are both devices that do not necessarily have to be repaired / tweaked. so the need for taking off the center shell would be scarce.
In addition to the easy-to-remove covers, the extra ‘hacking area’ around the Projector Strata (also accessible through the bottom two hatches) allow future users of Tbo to add any extra electronics they may need; this attests to the fact that Tbo is not a complete product but a research platform.